I have dubbed Mondays FAQ Mondays. I get asked a few questions over and over…here are some good things for you to know about your iPad.
Today’s question is how to add a photo or video to an email.
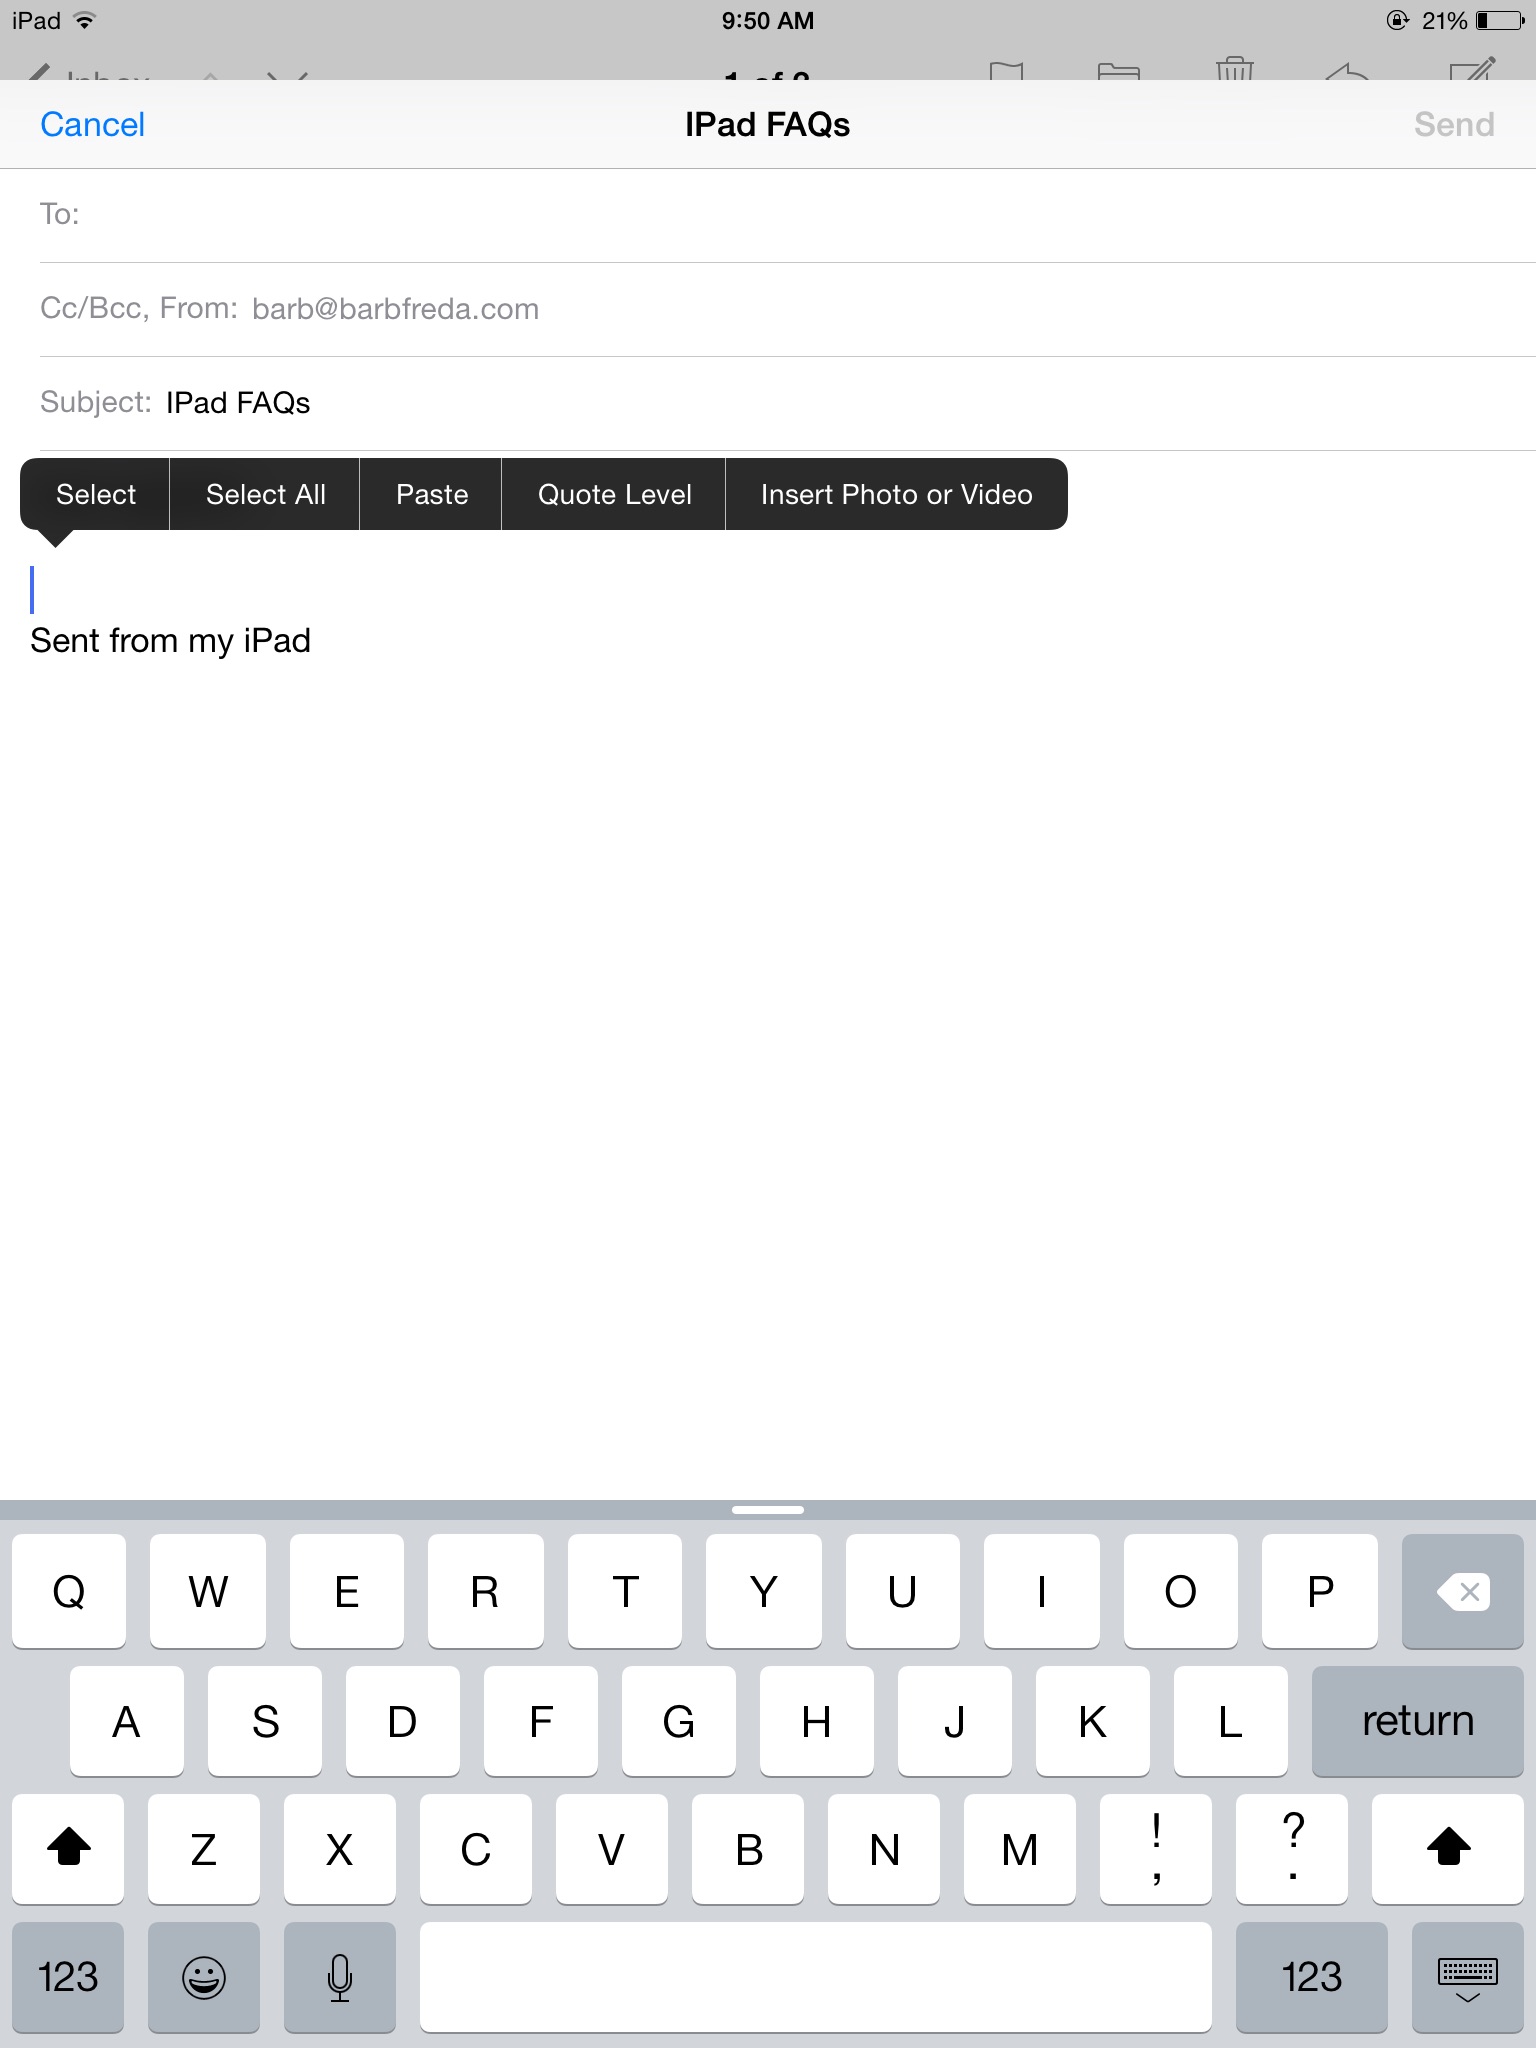
To insert a photo into an email on an iPad, tap and leave your finger on the screen in the body of your email for a second or two. When you lift your finger off the screen, a black bar appears:
 I
I
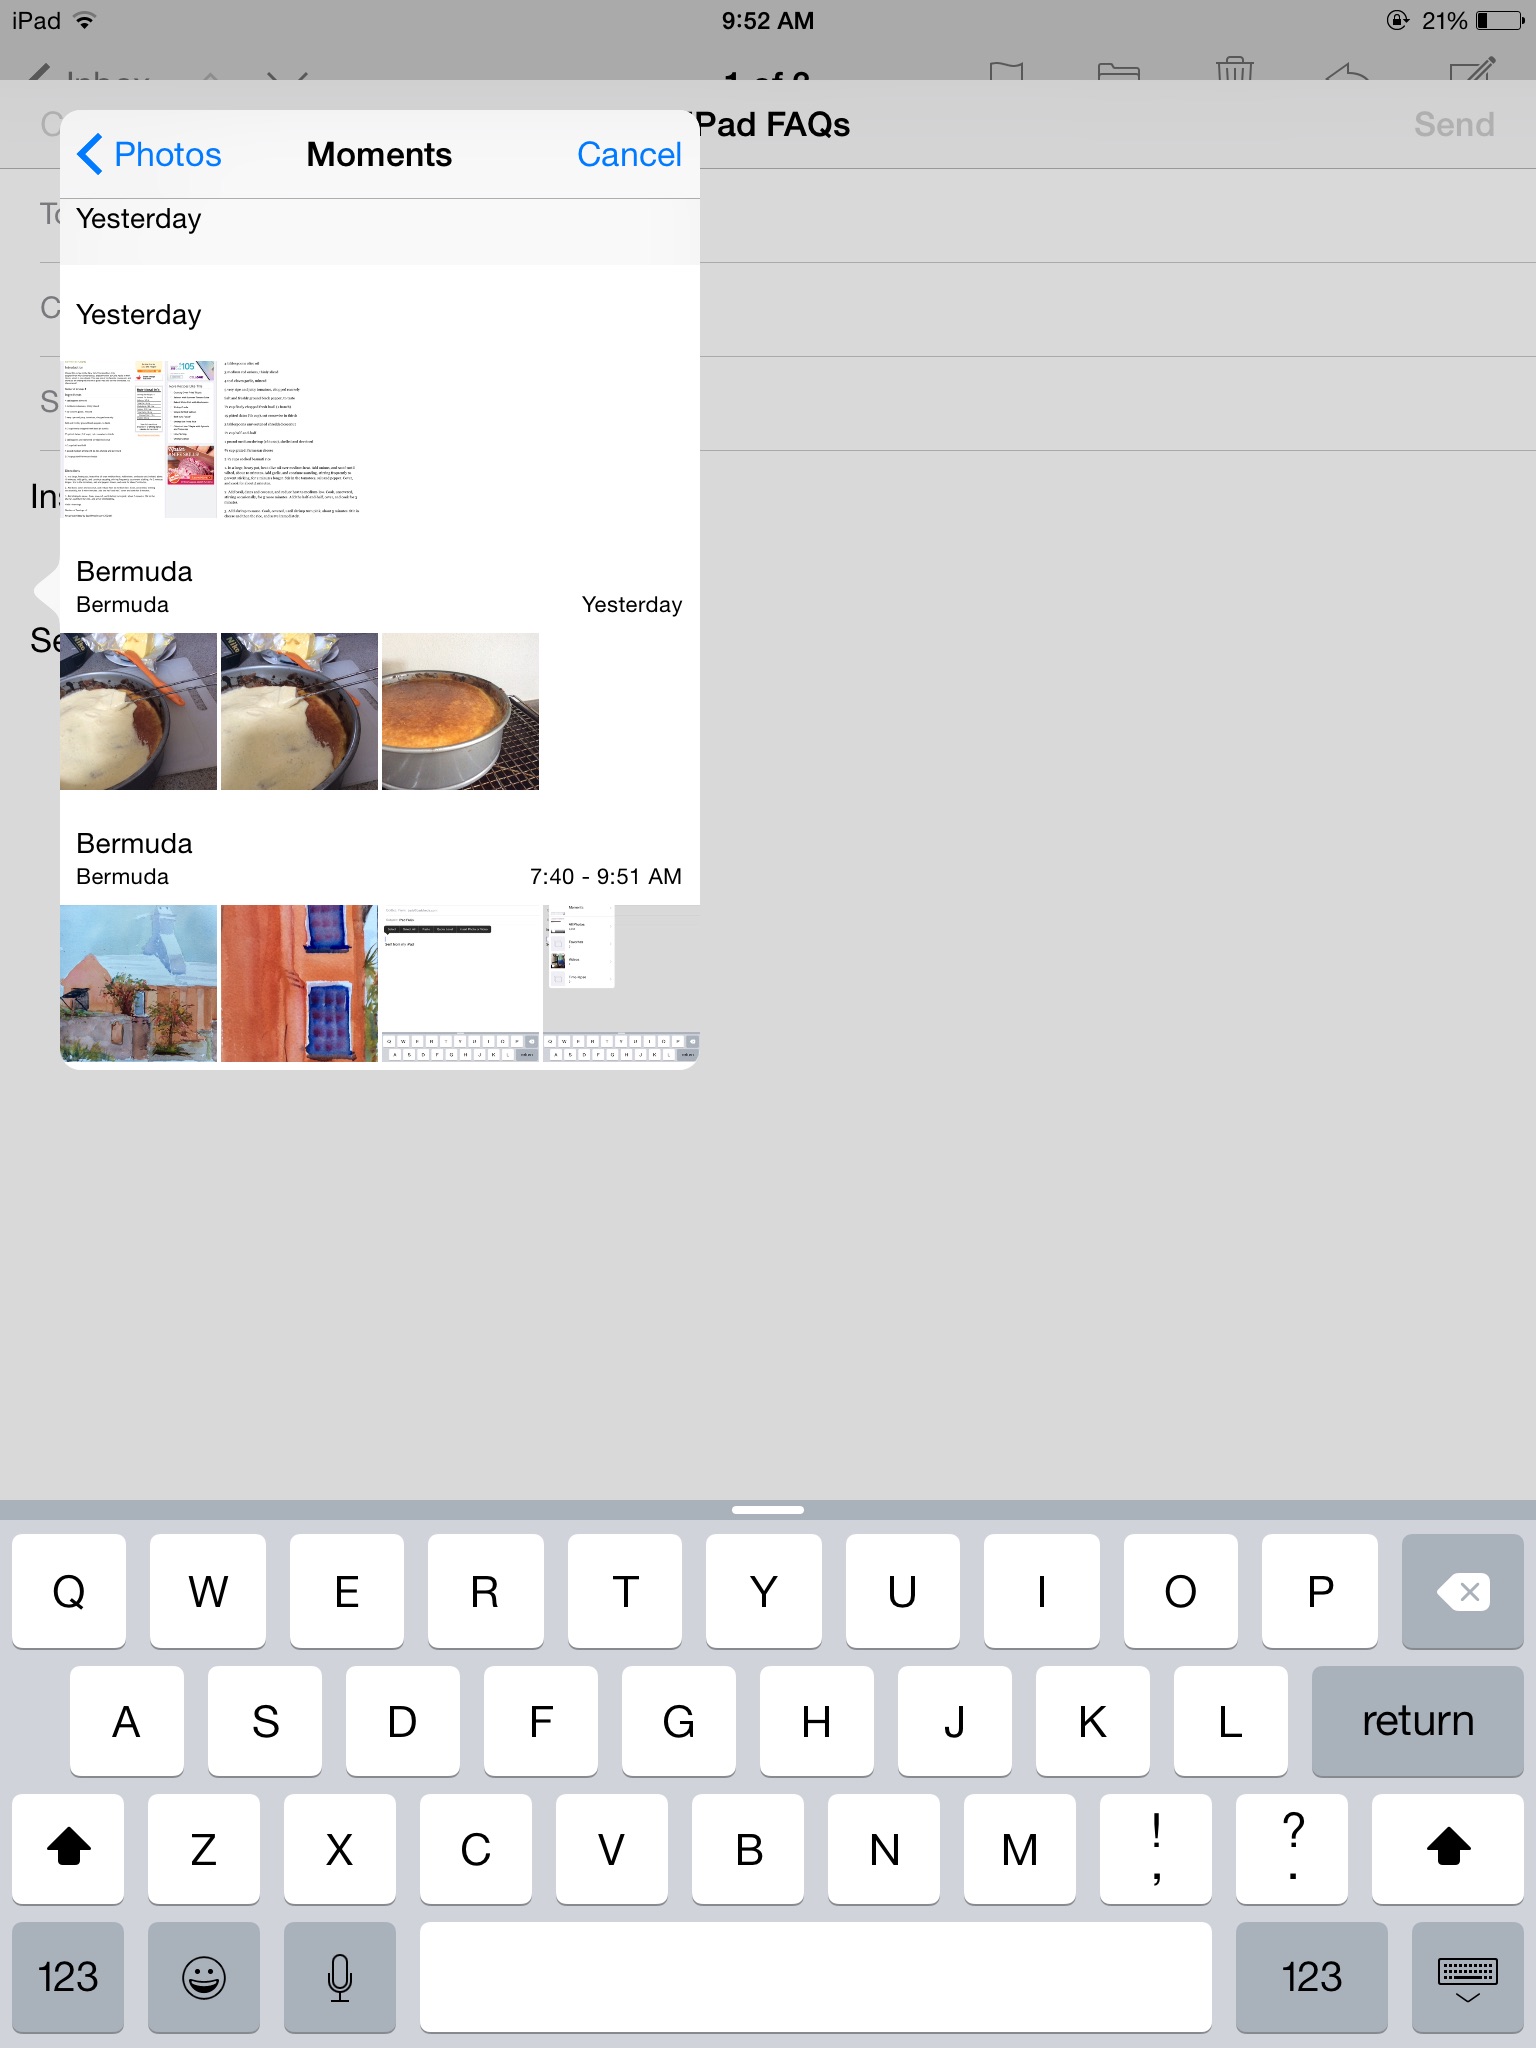
Select Insert Photo or Video. You will be taken to a popup box. Select what you need. I typically find my photos in Moments, because at least they are arranged according to dates there.
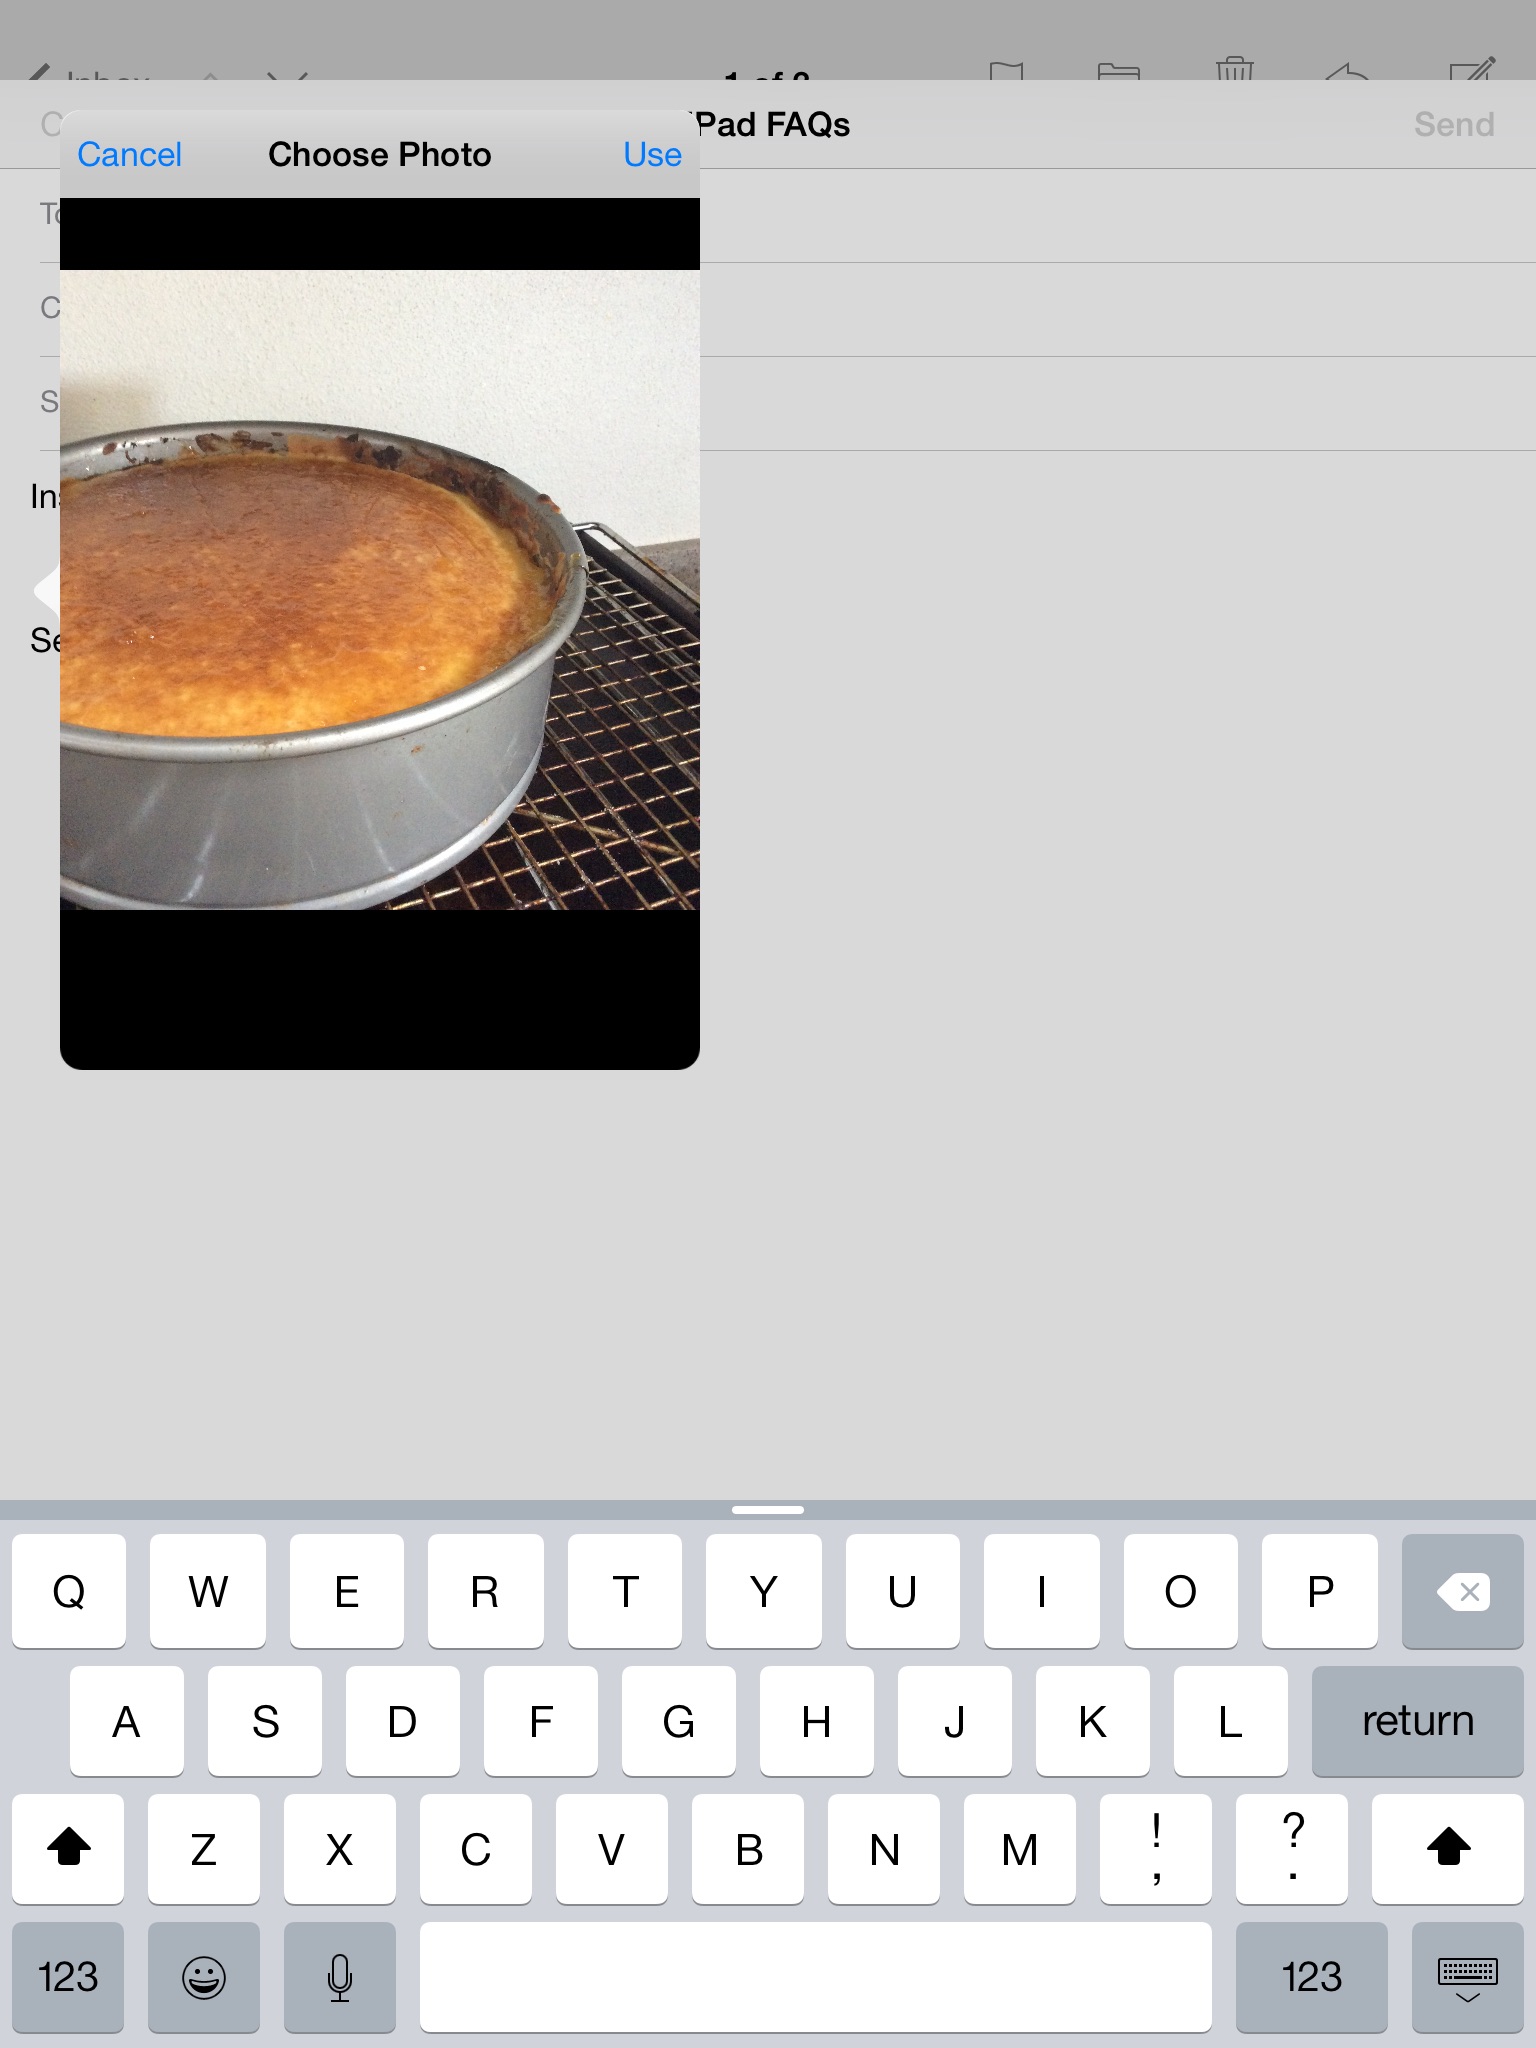
Once you are in moments, choose the date or location and find your photo. You will now see the photo in a box titled CHOOSE PHOTO. Select USE at the top right corner of the box.
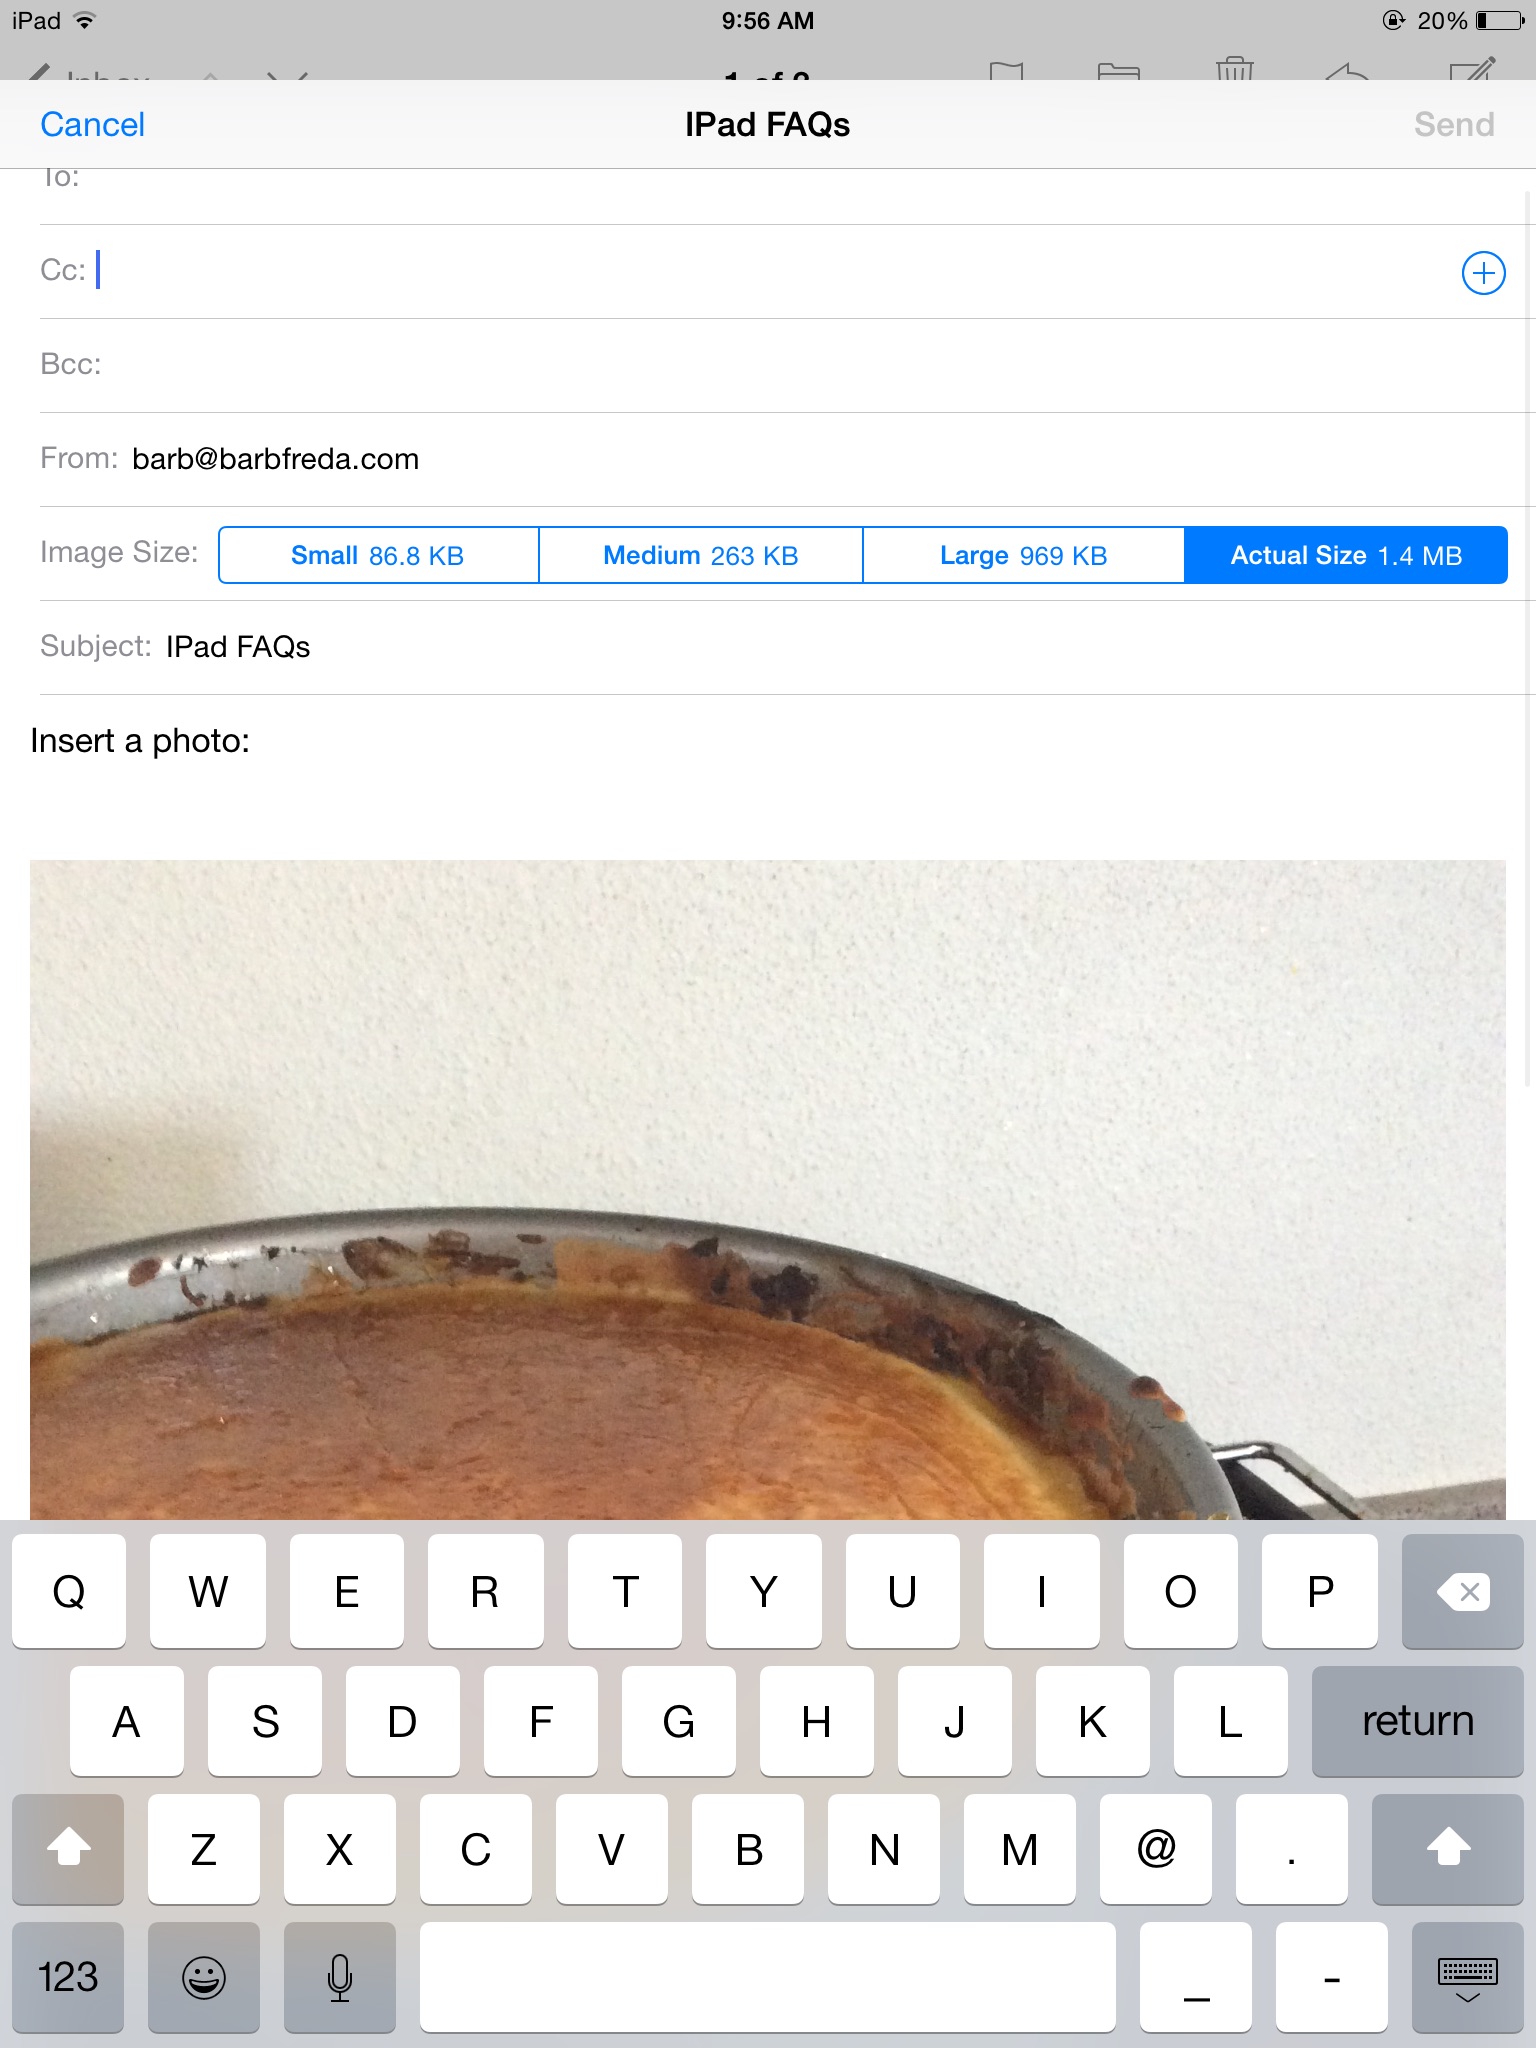
Your photo now appears in your email.
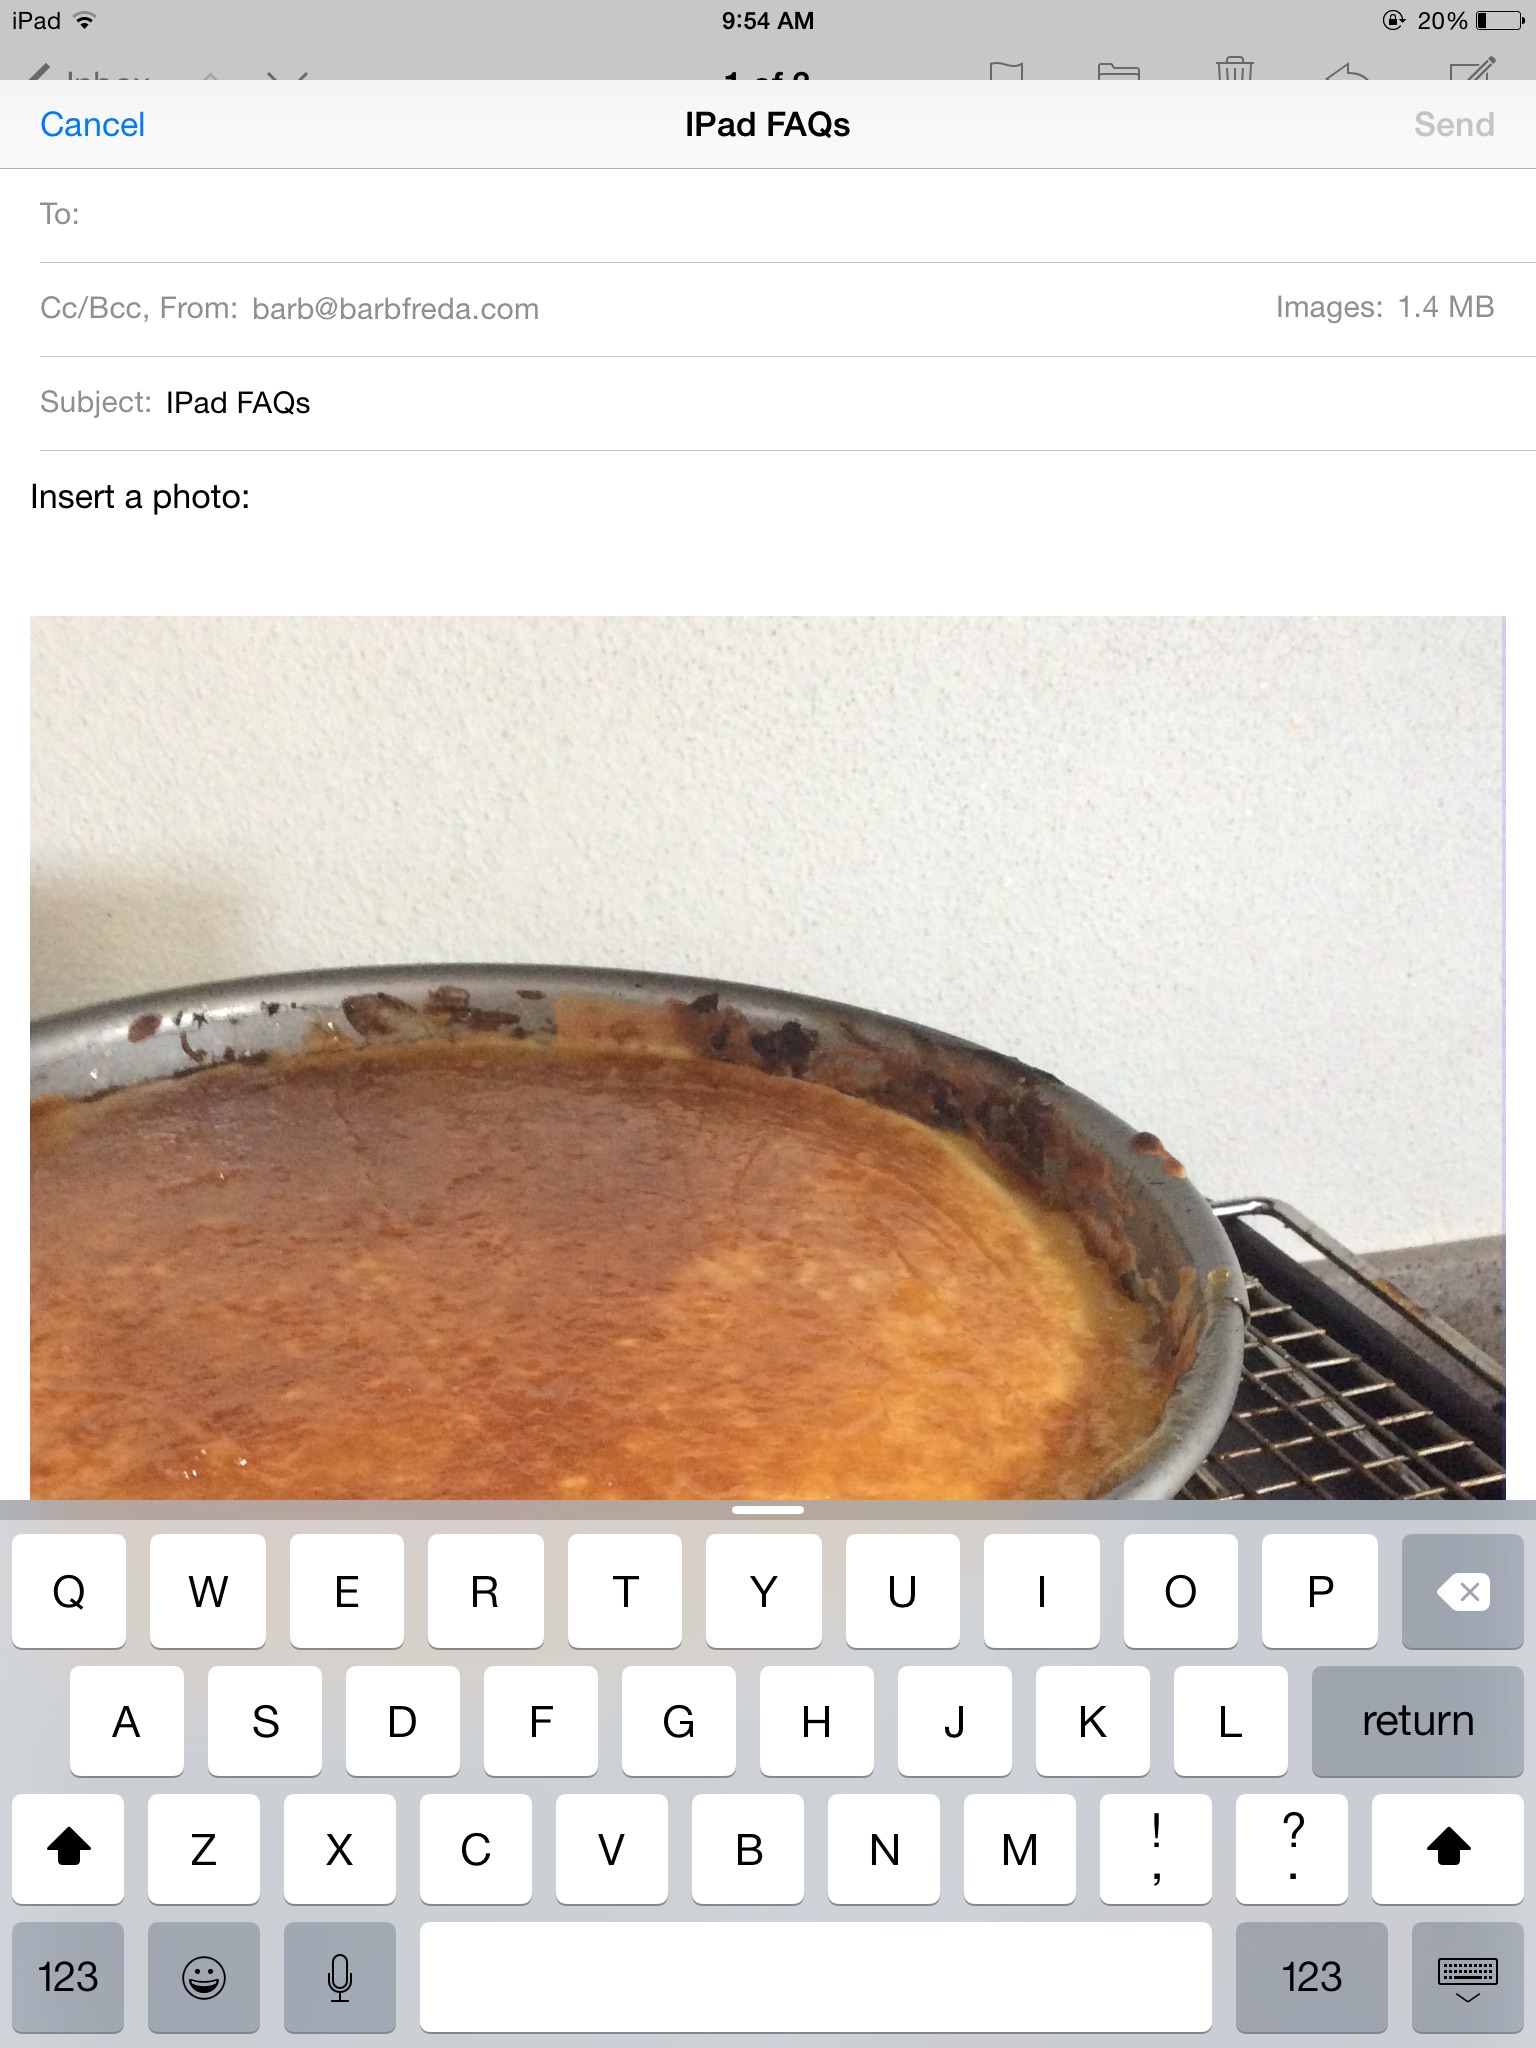
It may be too big. It is better to send SMALL photos in your emails–kinder to your recipients, more likely to go quickly, easier to download, etc.
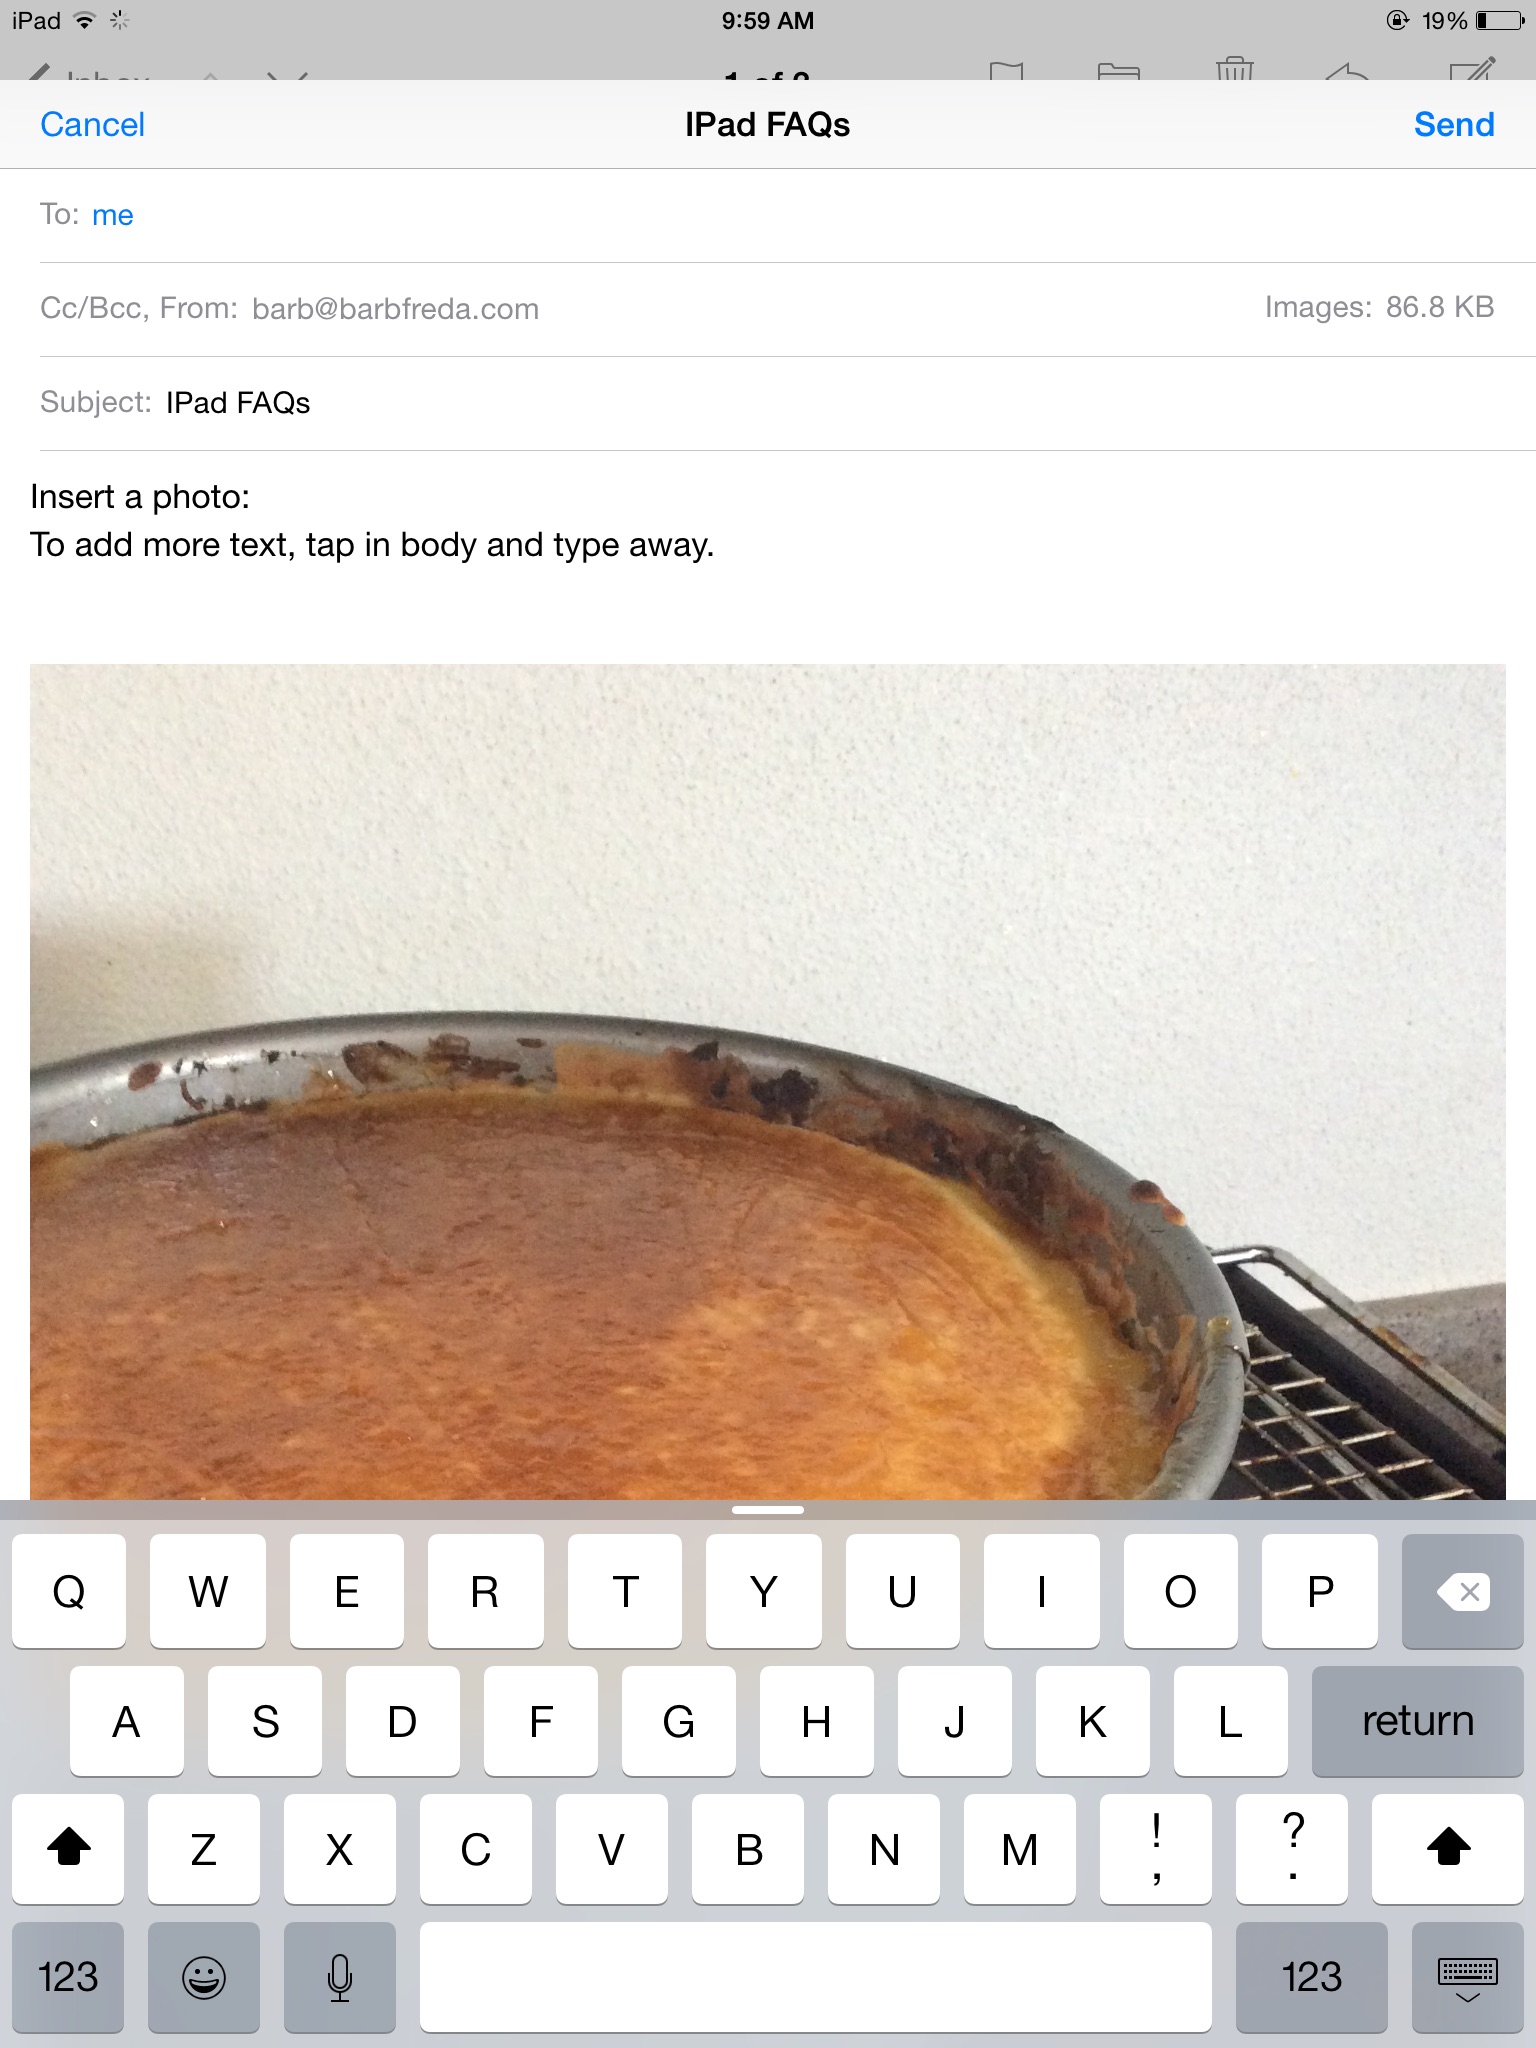
To send a smaller version of your photo, look at the address section header of your email. To the right, you should see “Images: 1.4 MB” (your number may be different; that is the size of the photo I have uploaded here).
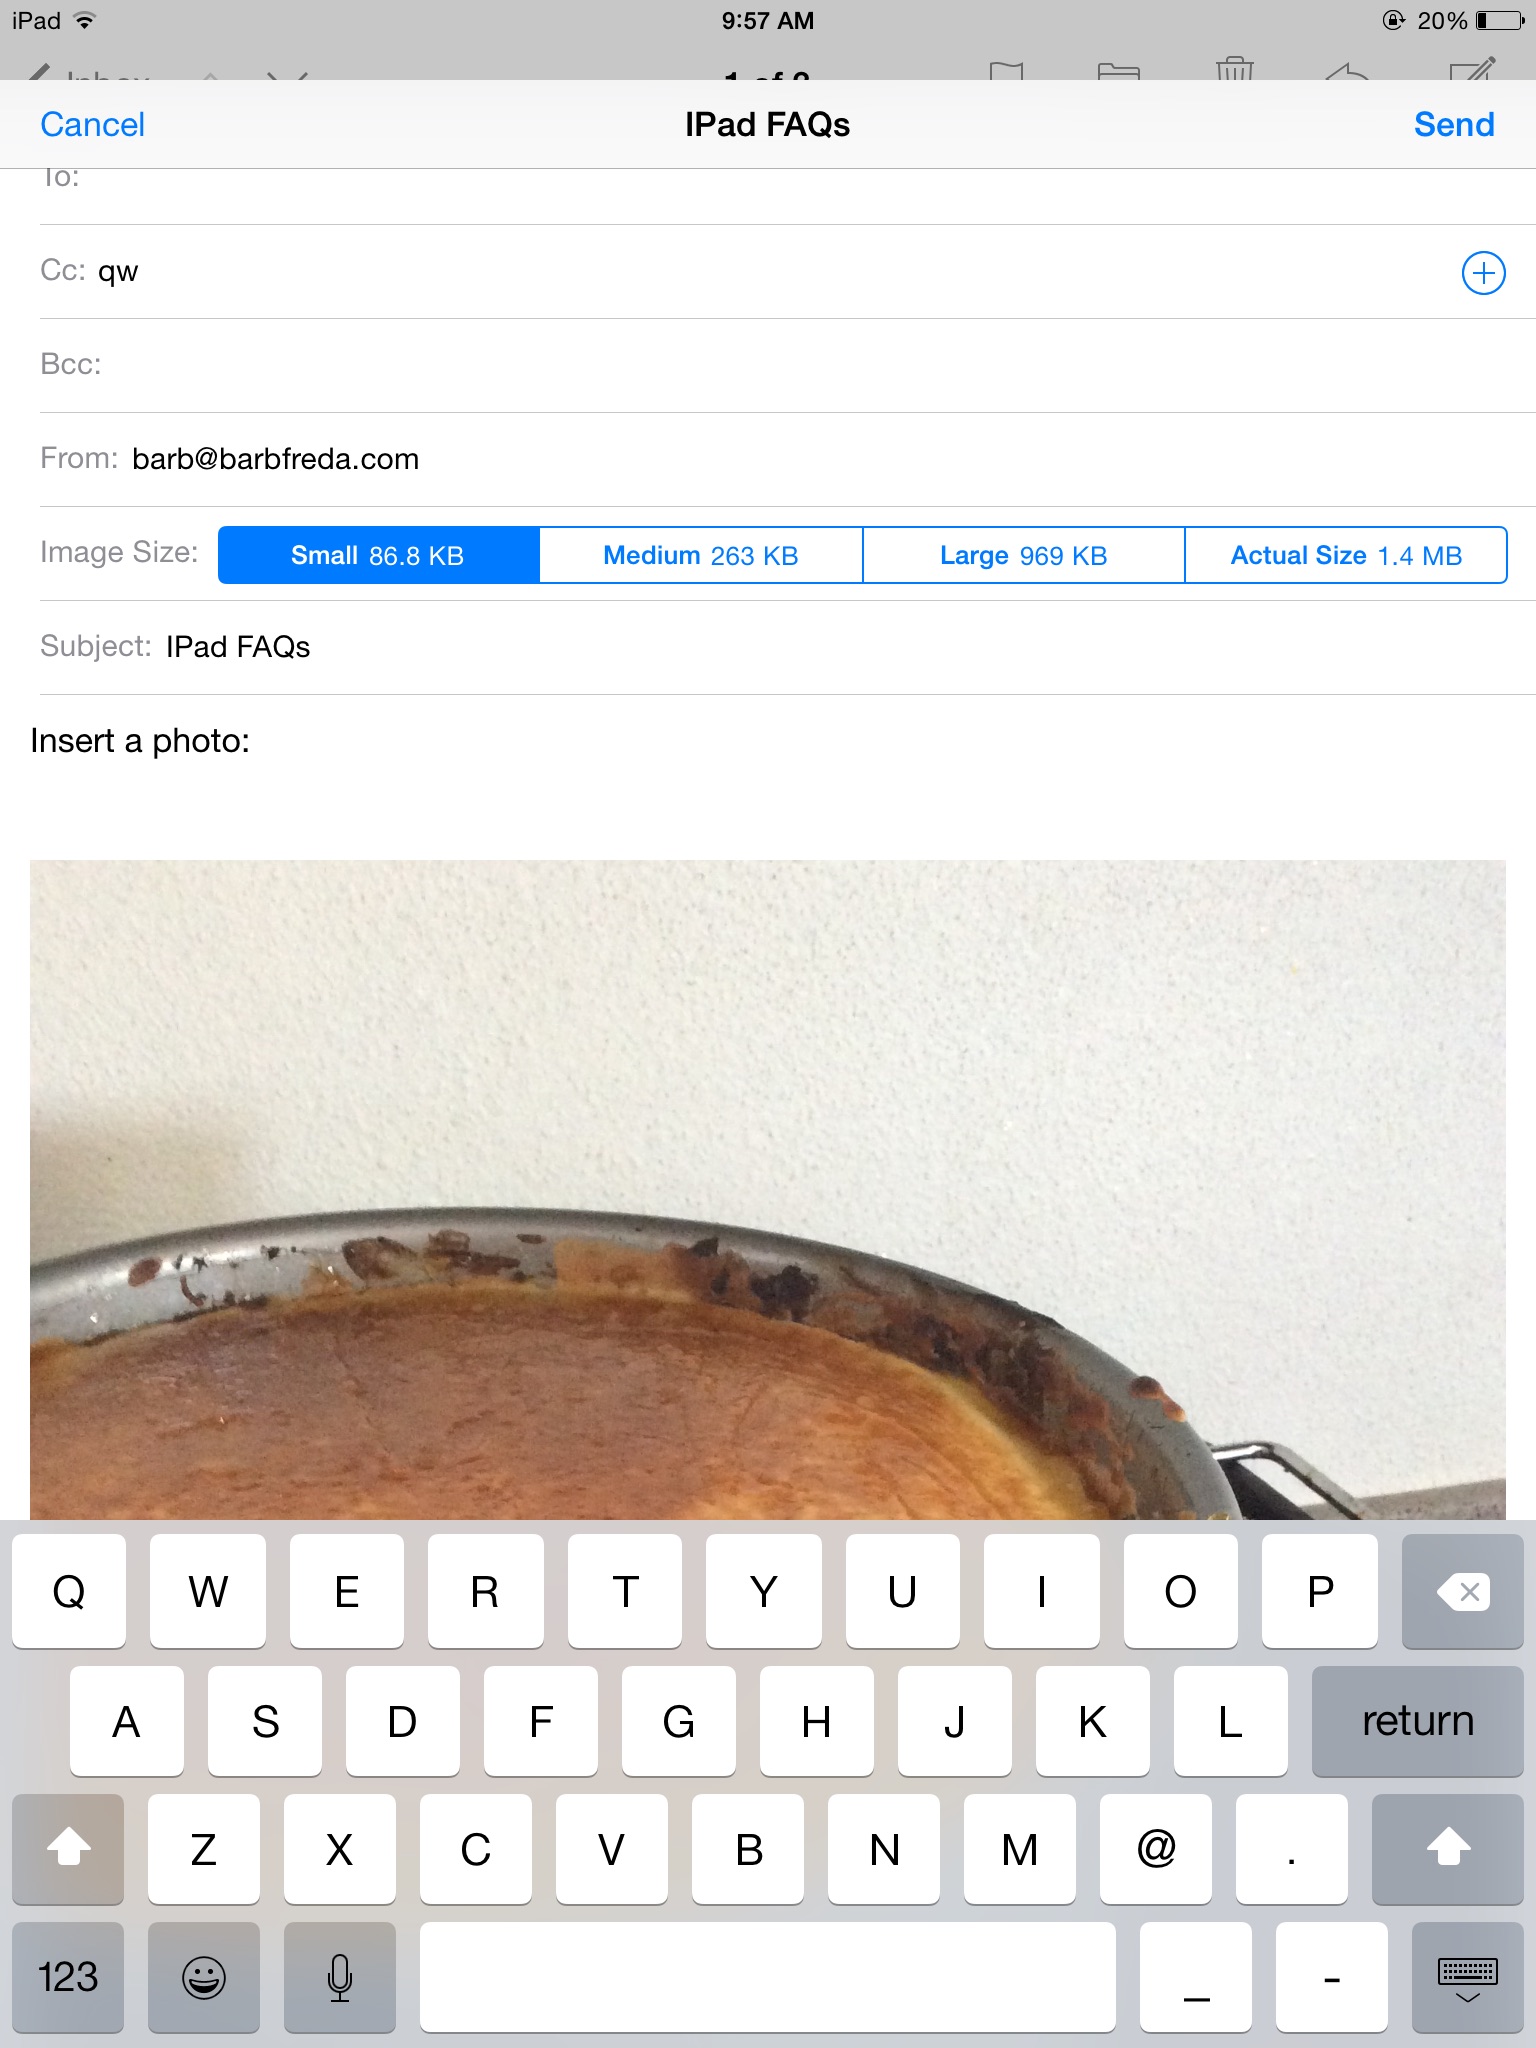
Tap that number. A bar appears with four choices of photo size. I almost always send SMALL, the box to the far left.
If you want to add more text, just tap back in the body of the email, type what you need to type…
Hit Send.
You just addd a photo to your email.
